Using 3D scanning and printing in the classroom to create character models for drawing studies
- Worked with UNK professor John Stanko to integrate 3D scanning into his Design Illustration class.
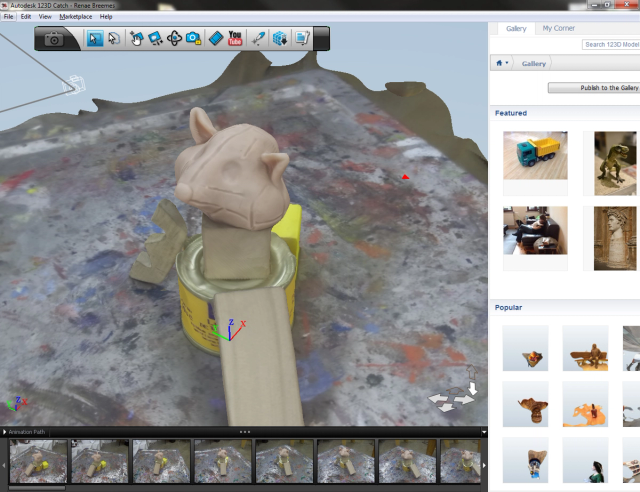
- Students created small models with Sculpey clay
- Idea was to scan a single base model, print multiple copies, then let students sculpt variations on top
- 18 students
- Printed 3 copies for each student
- 60 hours of print time.
Photo albums